As I was walking through a store whose name I won’t mention but it rhymes with “holler me store” (aka $ Tree Store), I came across 9 different items that I thought just might be the answer to my problem: The quilt top is finished, now how do I quilt it?
I’m wondering if that’s why there are SO many UFOs (unfinished objects) in the world just are waiting to become full-fledged quilts.
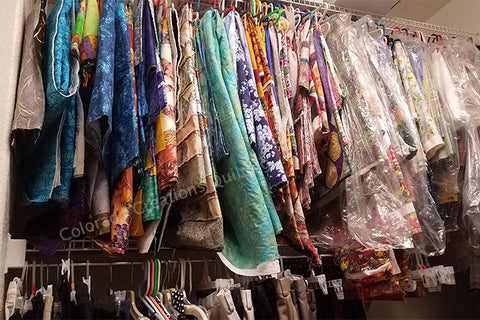
I’ve got a few of my own… just sayin’.
Here's 9 helpful products to help you finish off those UFOs.
1. Clear Vinyl
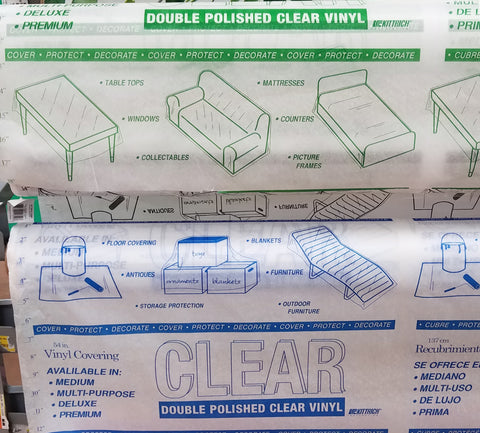
When I teach my landscape and pictorial classes, I often use clear vinyl that you can purchase in the home dec. department of craft stores, Walmart and the like. You know the kind of vinyl that grandma used to put on her couch so spills wouldn’t ruin the upholstery? Or am I dating myself!?
2. Clear Cellophane Wrap
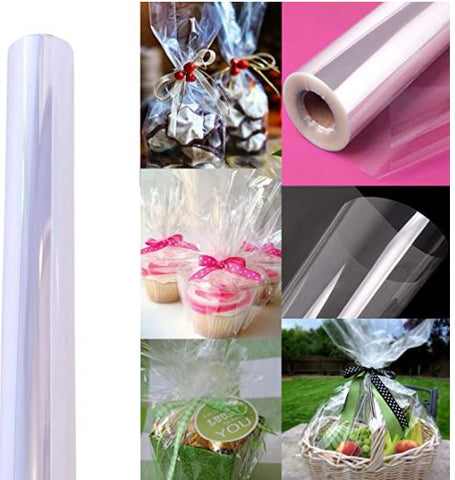
In a pinch, when one of the students forgot their supplies, I’d pull out my clear cellophane wrap - the stuff people wrap gift baskets full of goodies with.
3. Clear Bolt Wrappers
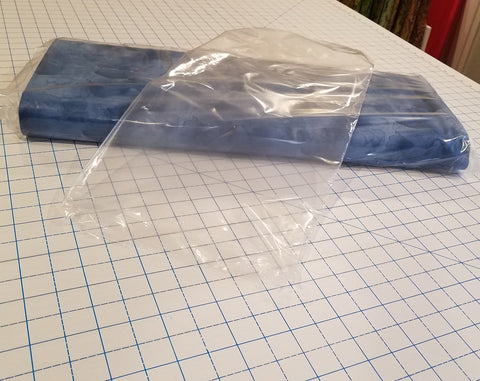
And no, students don’t get “graded down” in my classes because they forget their supplies. Heck, I forget the instructor’s supplies sometimes (rarely). So I’d pull the clear wrapper off new bolts at the store if that happened.
BTW Many quilt shops (mine included) would be happy to give you their bolt wrappers and cardboard centers.
4. Clear Shower Liner
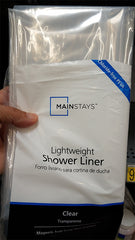
This items works great for larger projects like bed quilts.
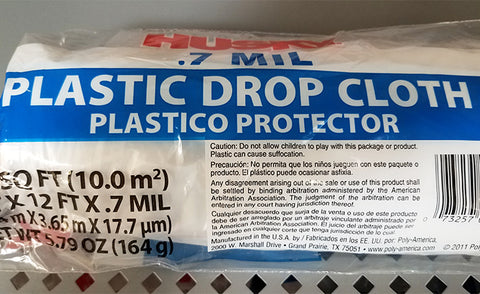
5. Plastic Drop Cloths
You know the kind that painter’s use? Plastic drop cloths are perfect for large projects.
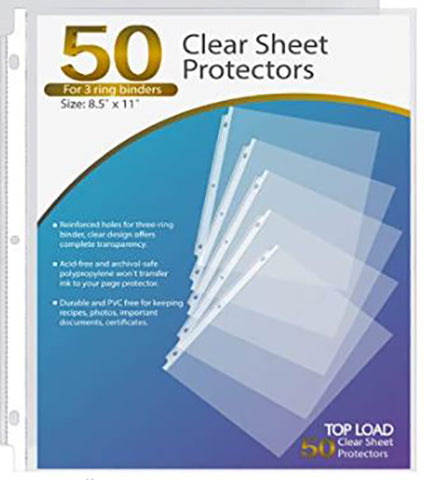
6. Clear Sheet Protectors
Here’s another option for small creations. For my own personal use, page protectors came in handy.
7. Self-Cling Drop Cloths
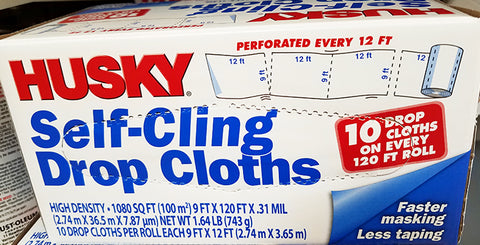
I have to be honest, I’ve never tried this one before but I like the idea that it could cling to fabric.
If you try this out please let me know what your thoughts are about the product.
8. Press N’ Seal

Speaking of self-cling products AND something you might even have in your kitchen, I’ve tested Press N’ Seal by Glad and it works pretty good for smaller projects.
9. Vinyl Table Protector
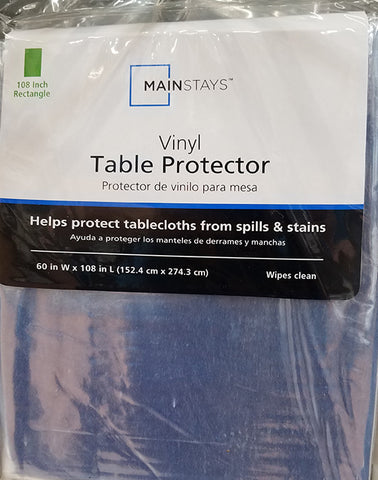
Again, besides doing duty of protecting your table, this product works for larger projects like bed quilts. BTW if you put it in the dryer on medium high heat for 5 minutes, it gets most of the wrinkles out. I’d only try this with thicker-type (i.e. not cellophane) products. I got this tip from Karen Brown’s “Just Get It Done” Youtube videos.
Now What You Ask?
What do you do with all this plastic that is transparent (clear)? How do you incorporate it into the quilting world? Most important, how does it reduce the size of my UFO collection? Glad you asked!
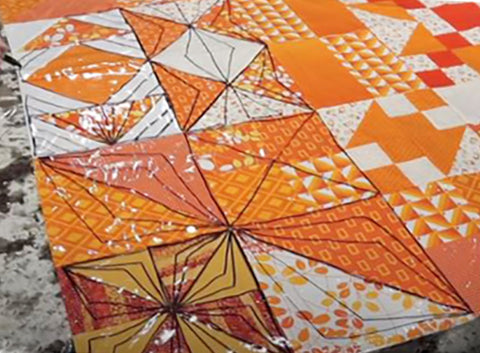
By placing any of the above products on top of your quilt project (make sure the clear product is larger than your quilt top), you are now able to create and test out quilting designs before using your machine or ripping out any stitches!
Here you see a very orange and white quilt top with a plastic vinyl table cover placed on top. Photo from Karen Brown’s “Just Get It Done”
Markers Used
Take special markers that can be purchased on line, at large box stores or office supply stores.
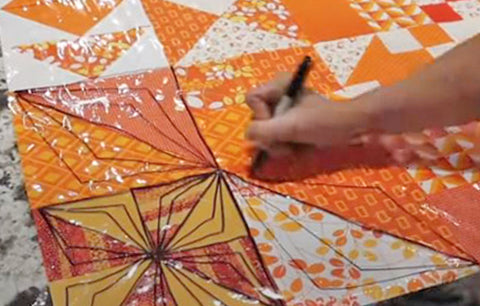
You’ll want to use dry erase marks like Expo or Pen & Gear to create a quilting design on top of the clear plastic. If you don’t like the design or how it might look once quilted, just erase and start over! Photo of quilt from Karen Brown’s “Just Get It Done”
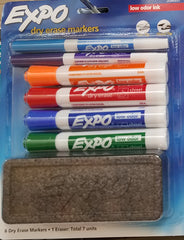
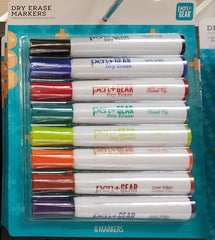
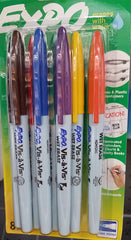
Likewise, you can use wet-erase markers like Expo’s Vis-à-vis to accomplish the same as the dry erase. Instead just rinse and repeat. (Haha)
A Little More About Sheet Protectors
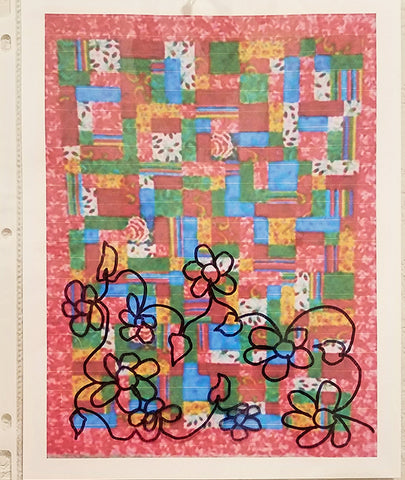
You’ll want to take a good photo of your quilt top. I usually put mine into Photoshop to get a nice square or rectangular quilt photo. I then get the photo to be approximately 8” x 11”. It costs to have this software. Another software program that I understand is free and has similar (I assume as I haven’t actually used it) functions is Canva. If you’ve tried it for this particular technique, please let me know how it worked for you here or in the comments below.
Once you’ve printed your quilt-top photo, place it in the sheet protector. Again, using the markers mention you can try out quilt design until you find the right one. Don't judge me, I haven't practiced quilting in quite a while (remember all the UFOs).
If you have other ideas on how to pre-test quilting designs, I’d love to hear about them.
Until next time,
Happy Quilting, Jackie
