A blog series on uniformly folding and storing quilt fabric:
Part 1: When Life Gives You Scraps, Make Quilts
Part 2: 4 Ways You Can Fold Fabric to Organize Your Quilt Studio
Part 3: 5 Great Tips On How to Store Fabric (coming soon)
Do you ask yourself “How do I tame this mess” when it comes to your fabric stash? I did when I recently moved.

Did you know that if like items are stored together, they're easier to locate? Even better, if they're the same size they're easier to store. Discover unique fabric folding techniques to keep your work surfaces and floor space clean and functional.

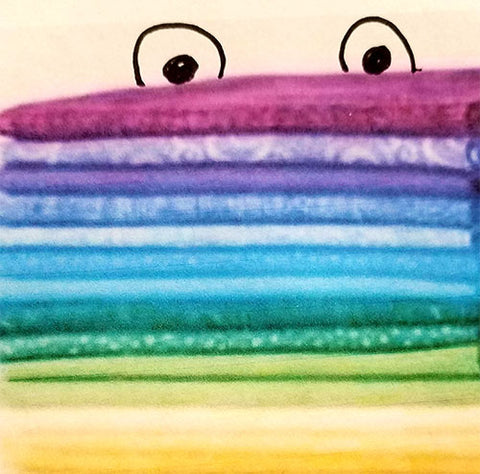
The key to taming the mess is to fold the fabric the same way so they will stack and store easily. By using my folding techniques, you can readily tell whether a piece of fabric is a fat quarter, half yard or something larger depending on the size and shape of the folded fabric.

Let’s start with the largest pieces and work our way to the smaller fabric pieces in our stash.
-
Yardage (greater than a ½ yard):
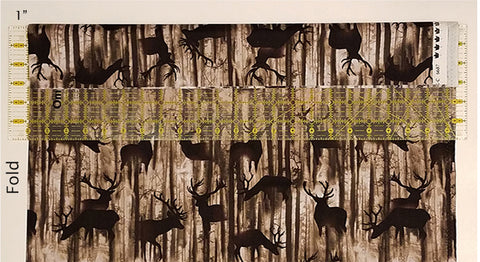
I use my 6" x 24" ruler to fold the fabric. Leave the fabric folded as it comes off the bolt from the store (selvages together). Next place the fabric on top of a 6” x 24” ruler. A long 6 ½” or 8” would work too-just be consistent.

It’s important to have the fold of the fabric placed approximately long the 1” mark on the ruler. This way the fabric folds around the ruler evenly.

Keep rolling the fabric around the ruler until you come to the end. Now slip the ruler out of the center.

Finally fold the fabric in half. The result should measure about 6” x 11”. Each piece you fold this way will be neatly folded, uniformly sized and easy to stack on a book shelf or in a bin.

2. Half yards- 18” x 42” (approximately)
Use the fabric as it came off the bolt (selvages together).

Now fold in half so that the fold in the fabric meets the selvages. Do this one more time.


Then fold the raw edges to the center. Doesn't this feel like origami?

Finally fold the piece in half so that the raw edges are hiding inside. The finished folded fabric should measure about 4 ½” x 6” and is now ready to easily stack and store.

-
Fat Quarters-18” x 21” (approximately)
Start by folding the piece in half along the length (21” side) so that the raw edges are together and the selvage is at one edge and showing.
Next fold it in thirds (along the 18” side) so that the selvage is hidden.

Now fold the piece bringing the folded edge up about 2/3 of the way-leaving about 2” near the raw edges. PS Just eyeball the 2/3-there's really no quilting police watching!

Using you hand, open up the top layer and then gently tuck the 2" (approximately) of raw edges inside like you would tuck an envelope flap into the envelope.

Now you have a fat quarter folded and should measure about 4 ½” x 6” and is ready for storage.

-
Small strips
Strips that range anywhere from 1 ½” to about 6” fit into this category. This is great if you make your own strips say for jelly rolls or binding.
You can take a fabric organizer board (more about this in the next blog which is coming soon) and be able to wrap a couple of strips around the same board. Then store the boards until their needed for a project.


These strips could also be rolled around an empty cardboard toilet paper or paper towel roll. But then they are harder to store because of their odd shape and bulkiness.
Now that you have your quilting fabric all uniformly folded, check out the next blog post (coming soon) on storing your fabric.
Quilty Quote:

I catch myself saying this whenever I come home with an armload of fabric!
If you have different methods that you use to fold fabric, I’d love to hear about it. Stay tuned for next time…I’ll be talking about unique ideas on how to store all the fabrics that you’ve been working so hard to fold. (I know you’re heading to your sewing area to start folding!)
Happy Quilting, Jackie